
Users have the ability to save themes for each Widget Types. This can make the process easier when creating and managing multiple Widgets at once.
This article discusses:
Themes are saved customisation options, and are unique to each Widget. If you have multiple types of Widgets, you will need to create a theme for each of them.
The SAVE THEME option is located at the bottom of the EMBED tab of the Preview step. This means that you must create a Widget using this theme to be able to save it.
If you have already create a Widget whose customisation options you would like to save as a theme, simply go to edit that Widgety, and go to the Preview step to click on the SAVE THEME button.
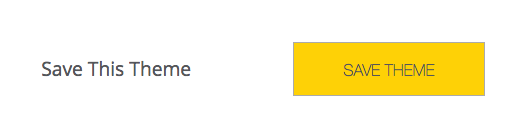
After clicking on it, you will be asked to give it a name. This name will be the one showed when applying a it to a Widget, so make it specific enough that you know which one it is, should you need multiple themes for the same type of Widget.
Once you have a theme saved, you can apply it to a new or existing Widget by selecting it from the dropdown in the Customisation step.
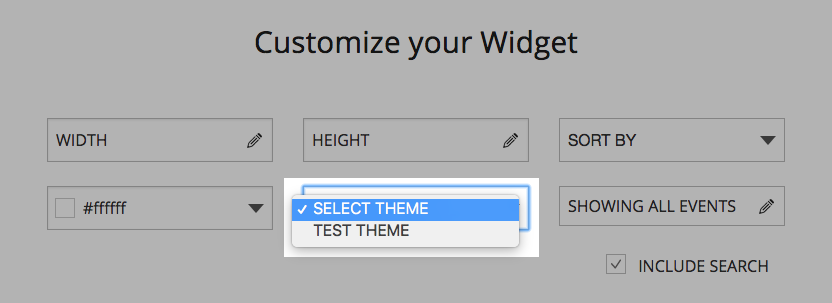
Once selected, the Widget you're currently editing will change to match the customisation options of the theme you have selected.
Once this is done, simply click on NEXT to update/save your Widget.
To edit a theme, simply edit one of the Widgets to which it is currently applied. Once you're happy with your changed, click on NEXT.
A new button called UPDATE THEME will have become available at the bottom of the EMBED tab of the Preview Step. Simply click on it to update your theme.
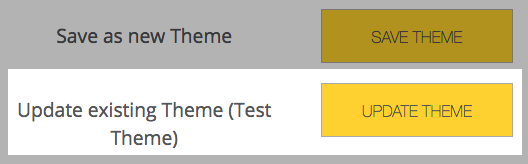
Any changes you have made to the theme will become available on all the Widgets currently using that theme.
Comments
0 comments
Please sign in to leave a comment.